
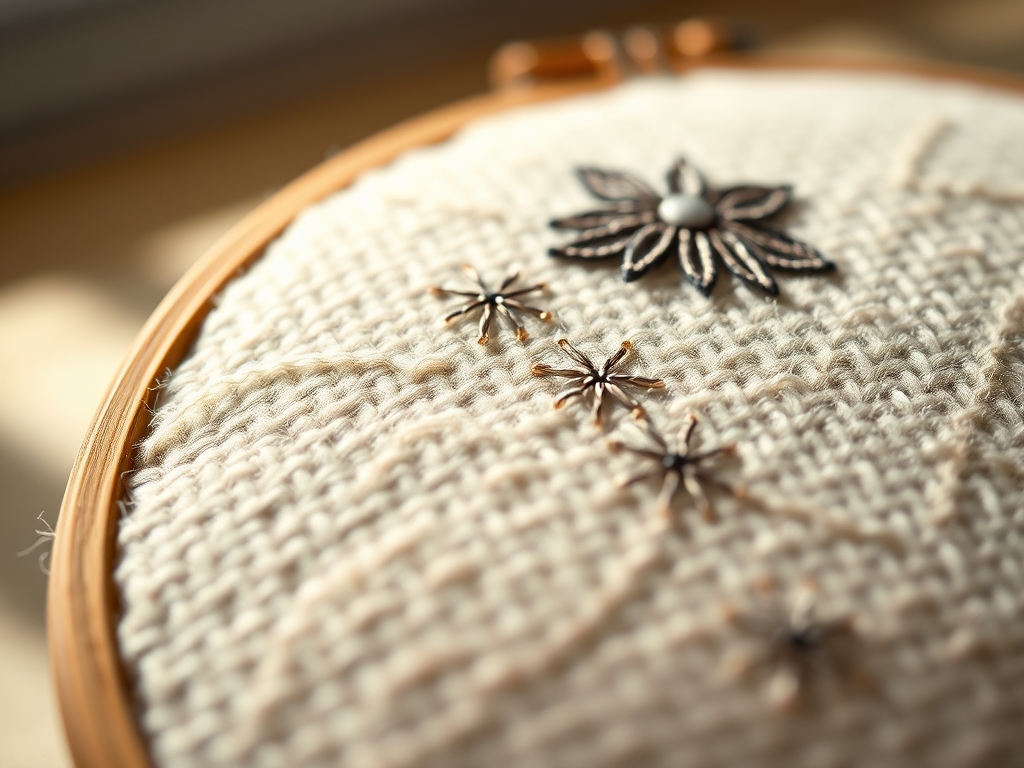
Grab your heaviest denim and feel that coarse, indigo-dyed grain under your fingertips; we are about to transform structural decay into a geometric masterpiece. Beginner Sashiko Embroidery is not just a decorative craft; it is a high-stakes engineering feat involving the tension between long-staple cotton and woven cellulose. When you pull that first strand of matte thread through a porous textile, you are essentially reinforcing the material's structural integrity using a series of running stitches that distribute stress across the fabric's entire surface area. The tactile sensation of the needle piercing the warp and weft is addictive. We are talking about a traditional Japanese technique that treats mending as a rhythmic meditation. Forget flimsy domestic threads; we are looking for high tensile strength and a low-sheen finish that bites into the fabric. As we dive into these eight patterns, you will realize that your hands are acting as a manual loom, restoring the ply of worn-out garments while creating a visual frequency that resonates with precision and soul. Let us get technical.
THE STUDIO KIT
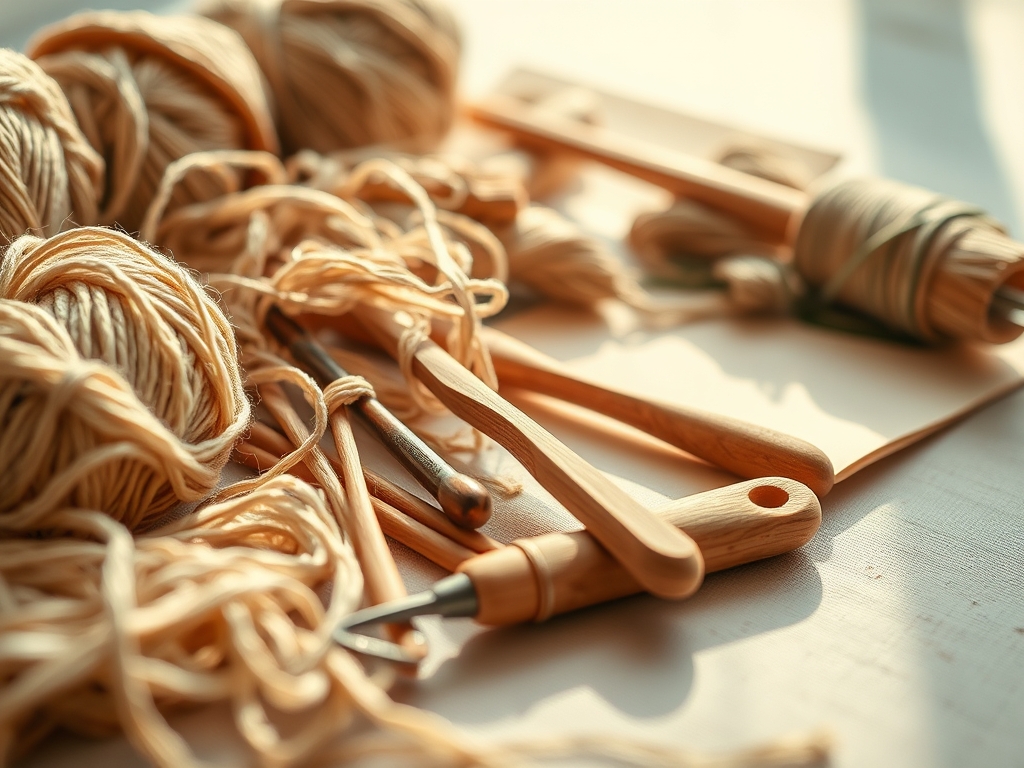
To execute these patterns with professional accuracy, your kit must prioritize ergonomics and material compatibility. You need a Sashiko needle, which is significantly longer and stiffer than a standard embroidery needle to allow for "loading" multiple stitches onto the shaft. Pair this with Sashiko thread, a non-mercerized, multi-ply cotton that expands when washed to lock itself into the fabric pores. You will also need a thimble pad (usually worn on the palm) to provide the leverage required to push through heavy denim without hand fatigue. For marking, a ceramic lead pencil or a heat-erasable friction pen is vital for maintaining the geometric grid.
Material Substitutions: If you cannot source authentic Japanese supplies, use a heavy-duty darning needle and pearl cotton thread (size 8 or 12). For the base fabric, any high-density natural fiber like linen or canvas works, provided the weave is loose enough to allow the thick thread to pass through without snapping the fibers. Avoid synthetic polyesters; they lack the necessary friction to hold the stitch tension over time.
THE TEMPO
Mastering the "Maker's Rhythm" is about understanding the physics of the running stitch. The preparation phase (marking the grid) takes approximately 30 percent of your total time. If your grid is off by even a millimeter, the geometric patterns will lose their symmetry as they traverse the garment. The stitching phase is the "flow state" where your speed increases as you learn to load the needle. Expect a standard six-inch square patch to take roughly two hours of active stitching. The final phase involves "burping" the fabric; stretching it diagonally to settle the thread into the weave, which takes only minutes but is essential for preventing puckering.
THE CORE METHOD
1. The Hishi-Seigaiha (Diamond Wave)
This pattern mimics the crests of waves using interlocking diamonds. You begin by marking a grid of equilateral triangles. The secret is to maintain consistent stitch-to-gap ratios, usually 3:2, where the stitch on the surface is slightly longer than the space beneath.
Mastery Tip: Observe the capillary action of your thread. If you pull too tight, the fabric will bunch; if too loose, the thread will snag. Aim for a "relaxed" tension that allows the thread to sit flush against the textile surface.
2. The Asanoha (Hemp Leaf)
A classic hexagonal star that provides incredible structural reinforcement. It is composed of six intersecting lines meeting at a central vertex. This is a high-density pattern that significantly increases the tensile strength of the mended area.
Mastery Tip: To avoid a "bump" at the center where six threads meet, ensure your needle enters and exits the fabric at slightly offset points. This prevents the buildup of bulk and maintains a flat profile.
3. The Nowaki (Grass in the Wind)
This rhythmic, organic pattern uses curved lines to simulate blowing grass. It requires a steady hand and a rotary cutter to prep the fabric edges before you begin. It is perfect for beginners because the curves are forgiving.
Mastery Tip: Use a bone folder to crease your fabric along the intended path before stitching. This temporary mechanical deformation of the fibers helps the needle glide through the curve with less resistance.
4. The Shippo-Tsunagi (Seven Treasures)
This pattern consists of overlapping circles that create stylized petals. It is a masterclass in geometric symmetry. You will need a compass or a circular template to ensure every arc is identical.
Mastery Tip: At the intersection points, never cross your threads on the front. Leaving a tiny gap (the width of a needle) allows the fabric to remain flexible, preventing the patch from becoming a stiff, uncomfortable plate.
5. The Kaki-no-Hana (Persimmon Flower)
A grid-based pattern that looks like a pixelated floral motif. It is worked in straight horizontal and vertical lines, making it the most efficient pattern for Beginner Sashiko Embroidery.
Mastery Tip: This pattern relies on surface tension. As you turn corners, leave a small loop of thread on the underside (a "slack loop"). This allows for natural fabric shrinkage during washing without distorting the pattern.
6. The Higaki (Cypress Fence)
This pattern uses parallel diagonal lines to create a woven, basket-like effect. It is excellent for large-scale mending projects on jackets or work pants.
Mastery Tip: Use a tailor's awl to gently open the weave of heavy fabrics before the needle passes through. This reduces the friction on the thread, preventing it from fraying or losing its ply definition.
7. The Sayagata (Key Fret)
A sophisticated interlocking pattern derived from the swastika symbol, representing longevity. It requires a precise square grid and intense focus on the "turning points."
Mastery Tip: The structural integrity of this pattern depends on the corners. Ensure your stitches do not "bridge" the corners; the needle must go down exactly at the corner point to define the sharp geometric angles.
8. The Rice Grain (Juzunashi)
The simplest yet most versatile pattern, consisting of staggered horizontal stitches. It resembles scattered grains of rice and is the foundation for all "hitomezashi" (one-stitch) techniques.
Mastery Tip: Focus on the gauge of your stitches. Use a small ruler to check that every grain is exactly the same length. Uniformity is what transforms a simple stitch into a professional-grade textile.
THE TECHNICAL LEDGER
Maintenance & Longevity: Sashiko-mended items should be hand-washed in cool water to prevent the cotton thread from shrinking at a different rate than the base fabric. Air dry flat to maintain the geometric alignment.
Material Variations:
- Sustainable: Use unraveled denim threads for a monochromatic, recycled look.
- Premium: Opt for silk Sashiko thread on wool for a high-contrast, luxury finish.
The Correction:
- Puckering: If the fabric bunches, you have skipped the slack loops. Fix by gently massaging the fabric diagonally to redistribute tension.
- Fraying Thread: This happens when the needle eye is too small, causing friction. Use a needle with a larger, polished eye.
- Ghost Lines: If your marking pen won't disappear, use a 50/50 vinegar-water solution to neutralize the ink's pH.
Studio Organization: Store your Sashiko threads in a dark, humidity-controlled container. UV light degrades natural indigo dyes, and excess moisture can cause the high-density cotton to swell and lose its twist.
THE FINAL REVEAL
Look at that! You have just engineered a piece of wearable art. The way those white threads pop against the deep indigo is not just aesthetically pleasing; it is a testament to your technical precision. Your garment is now stronger than it was when it left the factory, reinforced by the very patterns that make it beautiful. The weight of the piece has changed; it feels substantial, intentional, and grounded. You have successfully navigated the physics of fiber and the rhythm of the needle. Wear it with the pride of a maker who knows exactly how every molecule of that thread is holding the story together.
STUDIO QUESTIONS
What is the best fabric for beginner sashiko?
Medium to heavy-weight natural fibers like denim, linen, or cotton canvas are ideal. These materials have a visible weave that supports the tensile strength of the thick Sashiko thread without causing the fabric to tear or distort during the stitching process.
Can I use regular embroidery floss for Sashiko?
You can, but it is not recommended for functional mending. Standard floss is mercerized for shine, which reduces friction. Authentic Sashiko thread is matte and multi-ply, designed to expand and "grab" the fabric, ensuring the repair remains structurally sound over time.
How do I stop my fabric from puckering?
Puckering is caused by excessive tension. Always leave a small "slack loop" of thread on the backside of the fabric whenever you turn a corner or change direction. This allows the materials to move and breathe during wear and washing.
Do I need a hoop for Sashiko embroidery?
No, Sashiko is traditionally worked "in the hand." Using a hoop can actually make it harder to load multiple stitches onto the long needle. Holding the fabric loosely allows you to maintain the proper rhythmic movement required for straight, even lines.

