
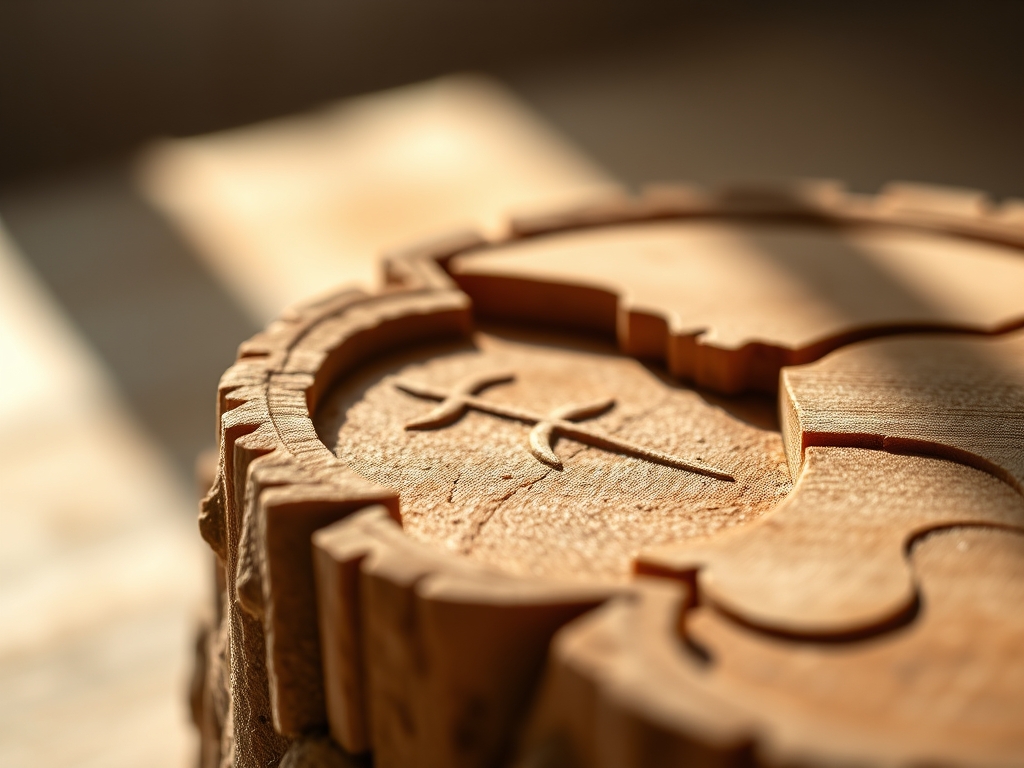
Imagine the scent of fresh cedar shavings swirling in the air as you grip a block of raw timber. It feels dense and cool against your palm; a dormant piece of history waiting for your hands to unlock its shape. This is the moment where art meets physics. To master an Intro to Wood Carving, you must first respect the cellular structure of the wood. Wood is not a solid mass but a bundle of microscopic straws known as tracheids. When your blade slices through them, you are essentially interrupting the vertical hydraulic system of a tree. It takes a sharp edge to sever these fibers without crushing them. If your blade is dull, you will feel the wood resist with a stubborn, fuzzy friction. But when the edge is honed to a mirror finish, the wood yields with a satisfying, rhythmic "shick" sound. We are about to transform a static object into a fluid form through the sheer force of mechanical leverage and patience. Grab your gear; we are going deep into the grain.
THE STUDIO KIT
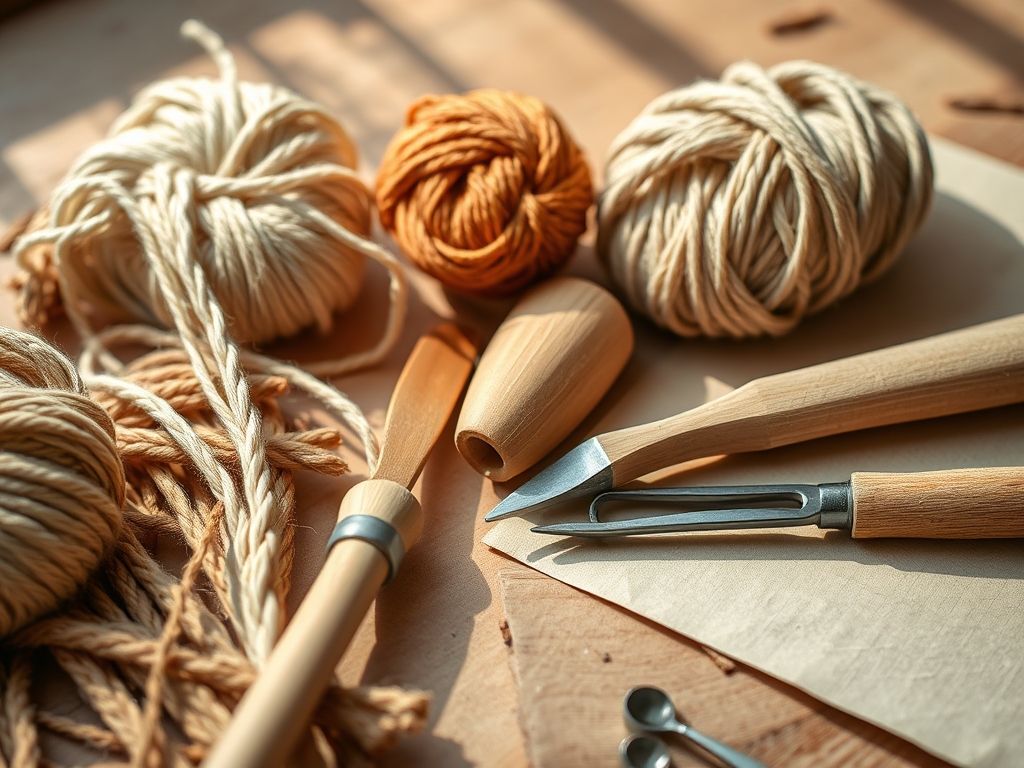
Before we make the first chip fly, we need to talk about the hardware. You cannot just use any kitchen knife; you need a dedicated bench knife with a high-carbon steel blade. High-carbon steel is preferred because it holds a finer bevel angle than stainless steel, allowing for surgical precision. You will also need a set of calipers to measure the thickness of your piece as you remove material, ensuring you do not compromise the structural integrity of the wood.
Safety is the non-negotiable part of this equation. You need Level 9 cut-resistant gloves. These are woven with high-performance polyethylene and stainless steel fibers to provide maximum tensile strength against accidental slips. For the wood itself, beginners should start with Basswood. It has an incredibly fine grain and low Janka hardness rating, which means it resists splitting while remaining soft enough for hand tools.
Material Substitutions: If you cannot find Basswood, look for Butternut or White Pine. Avoid Oak or Hickory for your first project; their high lignin content makes them incredibly dense and difficult to carve without power tools like an oscillating tool or a heavy-duty jeweler's saw.
THE TEMPO
The "Maker's Rhythm" is all about managing your internal clock and the wood's moisture levels. A standard beginner project, like a stylized bird or a spoon, takes approximately four to six hours of active carving.
- The Roughing Phase (1-2 Hours): This is high-energy work. You are removing bulk material to find the "silhouette." Your heart rate stays up, and your movements are broad.
- The Refinement Phase (2-3 Hours): The tempo slows. You are using smaller, controlled strokes to define features. This is where you focus on grain direction to avoid tear-out.
- The Burnishing Phase (1 Hour): The final stretch. You are smoothing the surface, perhaps using a bone folder or high-grit abrasive to compress the surface fibers for a natural sheen.
THE CORE METHOD
1. Mapping the Grain
Before the blade touches the wood, you must identify the direction of the fibers. Look at the "cathedral" patterns on the surface. Carving "with the grain" means moving the knife in the same direction that the fibers are laying down. If you carve against the grain, the blade will dive too deep and lift a large chunk, a phenomenon known as cleavage.
Mastery Tip: Use a pencil to draw arrows on all four sides of your block. This visual guide prevents "grain confusion" when you rotate the piece. Remember, wood is an anisotropic material, meaning its physical properties change depending on the direction of the force applied.
2. The Roughing Cut
Using your bench knife, apply a push stroke away from your body. Use your thumb on the back of the blade for leverage. This creates a mechanical advantage, allowing you to slice through the cellulose bonds without using excessive shoulder strength.
Mastery Tip: Maintain a shallow angle of attack. If the blade is too steep, you increase the coefficient of friction, making the cut harder and more dangerous. A 15-degree angle is the sweet spot for most softwoods.
3. The Paring Cut
This is a delicate, controlled movement similar to peeling an apple. You pull the blade toward your thumb, which is braced safely on the wood. This stroke allows for extreme precision when shaping curves.
Mastery Tip: This cut relies on shear force. Instead of pushing straight in, slide the blade laterally as you pull. This "slicing" motion reduces the amount of force required to sever the wood fibers, resulting in a much smoother surface.
4. Detail and V-Tool Work
To create deep lines or textures, use a V-gouge. This tool has two cutting edges that meet at a point. It requires consistent downward pressure combined with forward momentum to maintain a steady depth.
Mastery Tip: Watch out for capillary action if you plan to stain your piece later. Deep V-cuts expose the "end grain," which acts like a sponge. If your cuts are ragged, the stain will pool and create dark, blotchy spots. Clean, sharp cuts are essential for a professional finish.
THE TECHNICAL LEDGER
Maintenance & Longevity:
Your tools are only as good as their edges. Use a strop with chromium oxide paste every 20 minutes of carving. This aligns the microscopic "wire edge" of the steel, ensuring the blade remains sharp enough to shave with. Store your knives in a leather roll to prevent the steel from reacting with ambient humidity, which can cause pitting corrosion.
Material Variations:
- Sustainable: Reclaimed cedar from old fencing is excellent but watch for hidden nails.
- Premium: Black Walnut offers a gorgeous dark hue but has a much higher density, requiring frequent tool sharpening.
The Correction:
- The Mistake: Grain Tear-out. You carved against the grain and left a jagged hole.
The Fix: Reverse your carving direction immediately. Use a sharp awl to tuck in any loose fibers, then sand the area starting with 80-grit to blend the transition. - The Mistake: Dull Blade Compression. The wood looks "shiny" and crushed rather than cut.
The Fix: Stop carving. Your blade has lost its honed edge. Re-strop until the blade can slice through a piece of paper with zero resistance. - The Mistake: Over-sanding. You lost the crisp detail of your carving by using too much sandpaper.
The Fix: Use a burnishing tool to re-compress the edges. In the future, rely more on your knife for the final finish; a knife-cut surface is more "tactile" and authentic than a sanded one.
Studio Organization:
Wood is hygroscopic, meaning it absorbs and releases moisture from the air. To prevent your project from warping or cracking (checking), store it in a sealed plastic bag with a few of its own shavings if you need to leave it overnight. This creates a localized micro-climate that stabilizes the moisture content.
THE FINAL REVEAL
Look at that! You have successfully navigated the complex world of an Intro to Wood Carving. Your piece should feel balanced in the hand, with facets that catch the light and show off the natural beauty of the timber. There is a specific kind of magic in seeing the tool marks you left behind; they are the fingerprints of your labor. Your Level 9 gloves kept your skin safe, and your focus on grain physics ensured the wood didn't splinter. This isn't just a hobby; it is a conversation between you and the material. Now, go give that piece a final buff and show it off!
STUDIO QUESTIONS
What is the best wood for a beginner?
Basswood is the gold standard for beginners. It features a soft, even grain and low tensile resistance, making it incredibly easy to shape with hand tools without the risk of significant splintering or tool deflection.
Do I really need Level 9 safety gloves?
Yes. Level 9 gloves offer the highest cut resistance available. In wood carving, the blade often moves toward your holding hand. These gloves provide a critical safety barrier against high-pressure slips and sharp carbon steel edges.
How do I know if my knife is sharp enough?
A sharp carving knife should slice through a piece of cross-grain wood with almost no effort, leaving a burnished, shiny surface. If the wood looks fuzzy or the blade drags, you need to strop the edge.
Can I carve wood found in my backyard?
You can, but "green wood" has a high moisture content. As it dries, it may shrink and crack. For your first project, it is better to use kiln-dried lumber which has a stable, predictable cellular structure.

