
Grab your favorite ceramic palette and clear some desk space because we are about to dive into the visceral, liquid world of pigment suspension. There is something absolutely electric about the moment a loaded brush touches a damp sheet of cold pressed paper. You can actually feel the fibers swell as they drink in the moisture. If you have been struggling to get those dreamy, edge to edge gradients, you are likely fighting the laws of physics rather than your own creativity. Mastering Beginner Watercolor Washes is less about being a natural born artist and more about understanding the hydraulic dance of water tension and gravity. We are going to stop treating paint like a stain and start treating it like a structural element. When you learn how to control the flow, the paper stops being a flat surface and becomes a three dimensional playground of light and depth. We are going to manipulate the molecular bond between the pigment particles and the cotton substrate to create skies that look like they are breathing.
THE STUDIO KIT
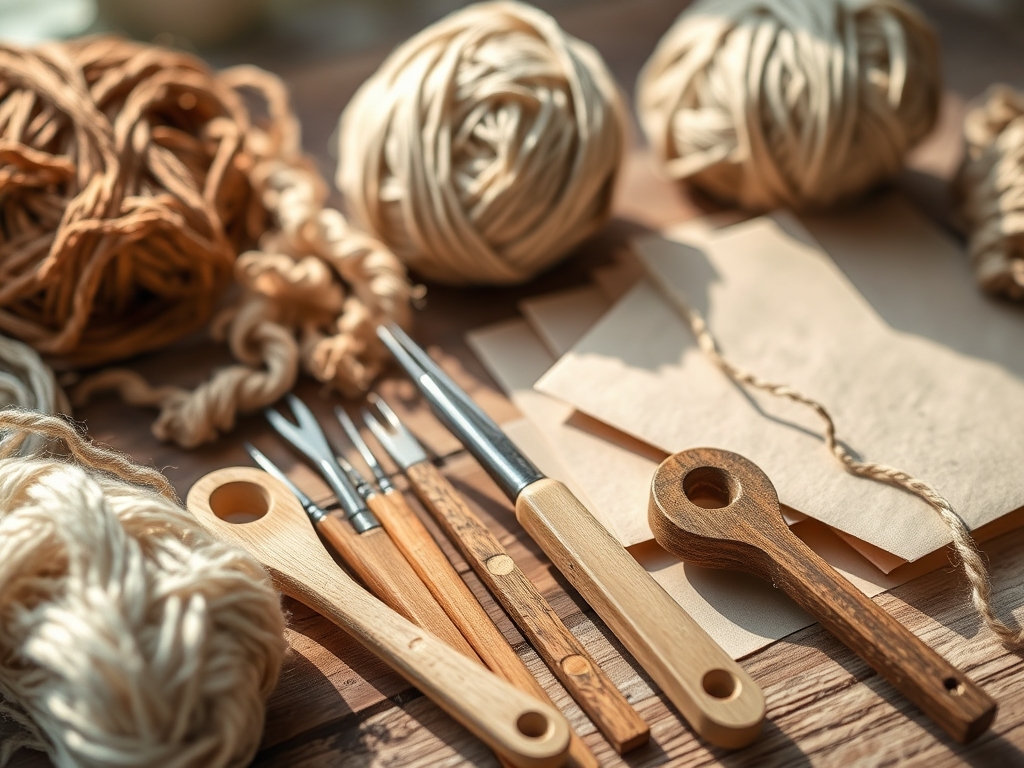
THE STUDIO KIT
To execute a flawless wash, you need tools that respect the porous nature of your medium. Start with 140lb (300gsm) cold pressed paper. This specific gauge of paper has enough tensile strength to resist warping when saturated. You will also need a large flat wash brush or a squirrel hair mop; these tools are designed for maximum water retention, allowing you to lay down a large volume of liquid without the bristles dragging or creating streaks. Your pigments should be professional grade to ensure a high fineness of grind, which prevents the gritty sedimentation often found in student sets.
Material Substitutions: If you do not have a dedicated porcelain palette, a white ceramic dinner plate works beautifully because it does not cause the water to bead up like plastic does. Instead of expensive masking fluid, you can use a high quality painter's tape or even a bit of paraffin wax to preserve your highlights. If you lack a professional drafting board, any non porous surface like a piece of Plexiglass or a smooth laminate shelf will serve as a stable base to tape your paper down, ensuring it remains flat during the drying cycle.
THE TEMPO
The "Maker's Rhythm" in watercolor is dictated entirely by the evaporation rate of your environment. You have about a ninety second window to manipulate a wet wash before the edges begin to set. This is the tactile phase where you are working "wet in wet." Once the sheen disappears from the paper, you must stop. Entering the "damp" phase with a wet brush will cause backruns or "blooms" because the new water pushes the settling pigment aside. Total drying time usually takes twenty to thirty minutes, but you can use a heat tool to accelerate the process if you maintain a distance of at least twelve inches to avoid scorching the fibers.
THE CORE METHOD
1. The Flat Wash
The goal here is a perfectly monolithic field of color. You begin by propping your board at a fifteen degree angle. This uses gravity to pull a "bead" of excess water to the bottom of each stroke. Load your brush to its maximum capacity and sweep horizontally from left to right.
Mastery Tip: This technique relies on capillary action. By maintaining a consistent bead of liquid at the leading edge of your stroke, you ensure that the pigment settles evenly into the paper's texture without creating hard lines or "tide marks."
2. The Graded Wash
For a sky that fades from a deep cobalt to a pale horizon, start with a saturated brush at the top. With each subsequent horizontal pass, dip your brush into clear water rather than more paint. This dilutes the solute (the pigment) within the solvent (the water) as you move down the page.
Mastery Tip: The science here involves diffusion. As the concentration of pigment decreases, the particles spread out further across the surface area of the paper, creating a smooth transition of value that mimics the Rayleigh scattering of the atmosphere.
3. The Variegated Wash
This is where the party starts. You are dropping two or more different colors into a wet field and letting them mingle. Do not overwork it with the brush; let the fluid dynamics do the heavy lifting. The colors will bleed into each other, creating soft, organic transitions.
Mastery Tip: Different pigments have different specific gravities. Heavier minerals like Cerulean Blue will sink into the paper's valleys, while lighter synthetic dyes like Quinacridone Rose will float on top, creating a multi layered visual texture.
4. The Wet in Wet Sky
Saturate your paper with clear water until it has a dull satin sheen. Drop in concentrated pigment for clouds. The water already present in the paper acts as a lubricant, allowing the paint to bloom outward with soft, feathered edges that look exactly like cumulus formations.
Mastery Tip: This method utilizes surface tension. The pre wetted surface reduces the friction between the pigment and the paper fibers, allowing the paint to travel further and faster than it would on a dry surface.
5. Lifting for Clouds
Once you have laid down a solid wash, use a thirsty brush or a crumpled paper towel to "lift" pigment back off the page while it is still damp. This reveals the white of the paper beneath, creating high contrast highlights.
Mastery Tip: This is essentially a mechanical extraction. By using an absorbent material with higher wicking capabilities than the paper, you are physically pulling the liquid suspension out of the fibers before the pigment particles can bond.
6. The Dry Brush Texture
For the final touch on a sky, use a brush that is nearly dry but loaded with thick, creamy paint. Drag it quickly across the surface of cold pressed paper. The paint will only hit the "peaks" of the paper's texture, leaving the "valleys" white.
Mastery Tip: This technique exploits the topography of the paper. By keeping the moisture content low, you prevent the paint from flowing into the recessed areas, creating a shattered, sparkling effect that mimics light hitting water or clouds.
THE TECHNICAL LEDGER
Maintenance & Longevity: To keep your washes vibrant for decades, always use acid free, 100% cotton paper. Wood pulp papers contain lignin, which will yellow over time and cause your blues to turn a muddy green. Store your finished pieces away from direct UV light or use a spray fixative with UV inhibitors.
Material Variations: For a premium experience, try handmade rag paper; its irregular ply and deckled edges offer a unique resistance to the brush. If you are feeling eco conscious, look for bamboo or agave based watercolor papers, which offer incredible structural integrity and a unique, velvety absorption rate.
The Correction:
- The Bloom: If a "cauliflower" edge appears, wait for it to dry completely, then lightly burnish the area with a damp, stiff synthetic brush to soften the hard line.
- The Streak: If you see brush marks, your paint to water ratio is too high. Increase the water volume to allow the pigment to self level.
- The Warp: If your paper buckles, you didn't tape it down securely. To fix a warped painting, lightly mist the back with water and place it under a heavy stack of books for twenty four hours.
Studio Organization: Store your paper flat in a cool, dry place. Humidity can compromise the "sizing" (the gelatin coating) on the paper, which will lead to uneven absorption. Use an archival portfolio to prevent dust and oils from your hands from contaminating the surface.
THE FINAL REVEAL
Look at that glow! When you nail these techniques, your watercolor sky will have a luminous quality that no other medium can replicate. You have successfully navigated the physics of fluid dynamics to create something that feels airy and ethereal. Your washes should look like they were breathed onto the paper, with no harsh lines or muddy patches to break the illusion. This is the foundation of all great watercolor work; once you can control the wash, you can control the mood of the entire piece.
STUDIO QUESTIONS
How do I stop my watercolor paper from buckling?
You must "stretch" your paper or tape it securely to a board using gummed tape. This maintains tensile tension as the fibers expand when wet and contract as they dry, ensuring the surface remains perfectly flat.
Why does my watercolor look dull when it dries?
Watercolor is subject to a "dry back" where colors appear 20% lighter and less vibrant once the water evaporates. To compensate, increase your pigment concentration during the wet phase to ensure the final result has the desired chroma.
What is the best brush for large watercolor washes?
A large natural hair mop brush is ideal because it has a massive internal reservoir. This allows for a continuous flow of paint without needing to reload, which is the key to avoiding streaks and maintaining a consistent bead.
Can I fix a mistake after the wash is dry?
Yes, you can use a "scrubber" brush or a damp magic eraser to gently lift dried pigment. However, be careful not to abrade the paper's surface sizing, as this will change how subsequent layers of paint are absorbed.

